date: “2016-12-09T20:25:06Z” title: Creating meshes from SHP files permalink: /2016/12/creating-meshes-shp-files/
A while ago now, Digimap gave data.gg a SHP file containing elevation data for Guernsey, Sark, Alderney and Herm. Using this data, I’m going to place a WebGL widget on data.gg allowing users to fly around the islands. There’s two ways to approach this:
- Create a height-map using the SHP data and generate game engine terrain using it. This would be done using geographic software to rasterize the data into a normal image (like a PNG) with white pixels representing high points and black pixels low (e.g. sea level).
- Triangulate the XYZ points in the SHP file to create 3D meshes. This is done using an algorithm to join all the points together to form edges and faces.
This post is going to be about the latter method which is to create a mesh. I’ll do a separate post about the other method in the future. Both approaches have different pros and cons—the mesh approach may be more detailed, while game engines (which is ultimately what the WebGL widget will be) will handle terrain better performance-wise.
To create the mesh I’m going to be using Blender , an awesome open-source 3D graphics editor. You’ll also want to grab an add-on called BlenderGIS , which is a “bridge between Blender and geographic data.”
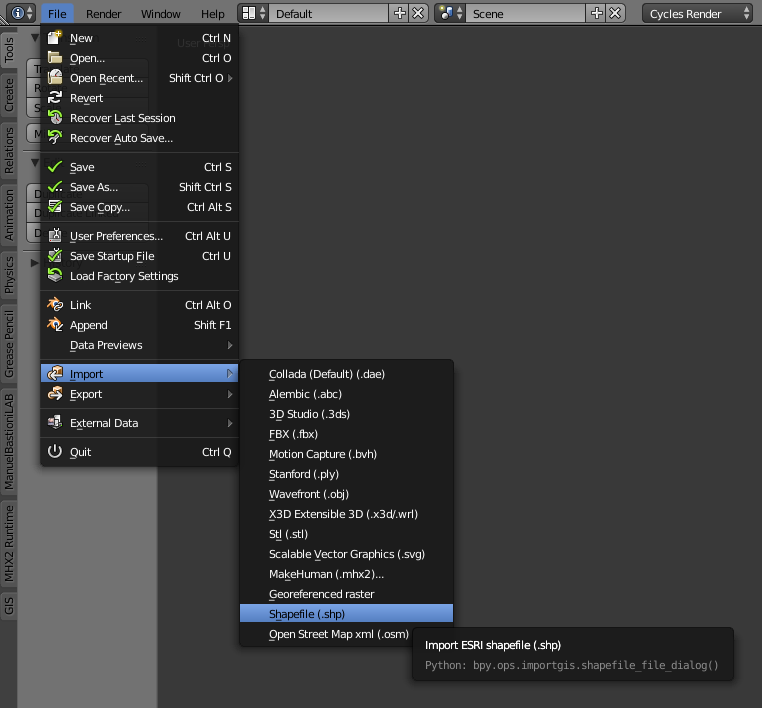
Import
Using the menu, import your SHP file. Note that the ability to import SHP files comes from the BlenderGIS add-on.
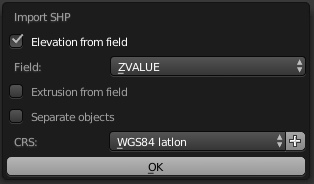
These options will appear. The field holding the elevation in my case is called ZVALUE.
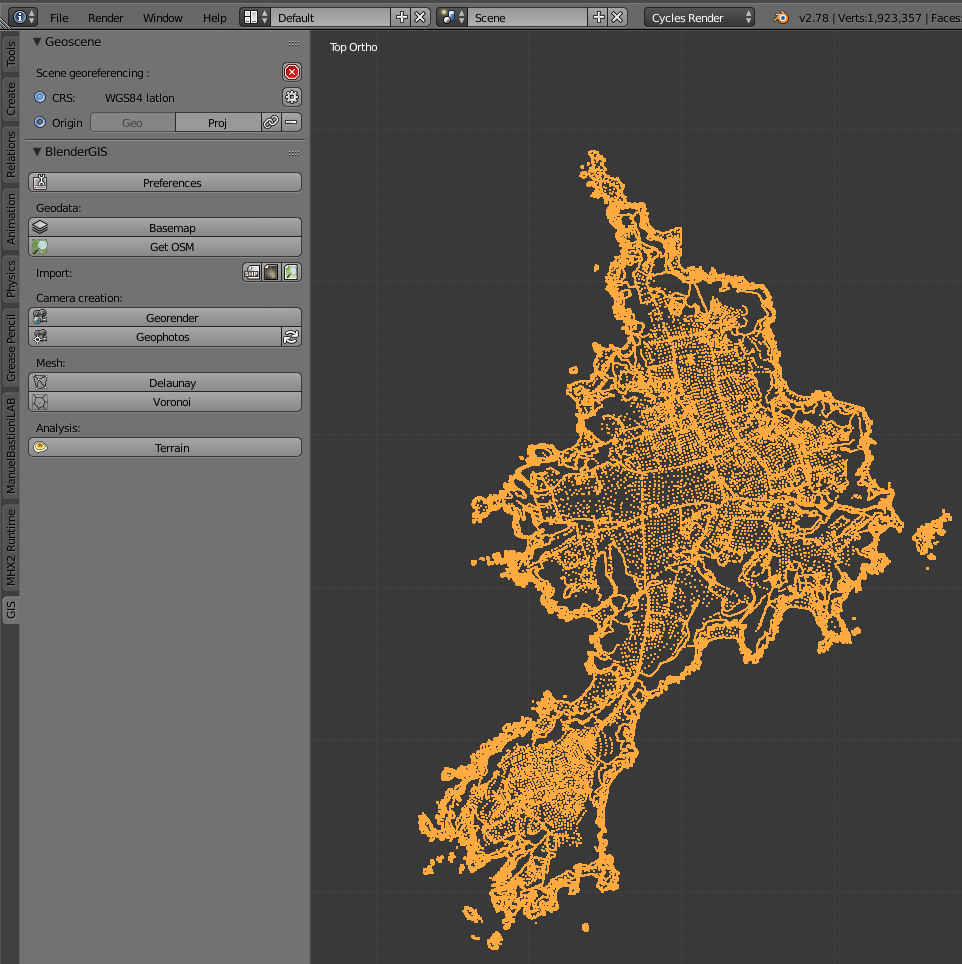
Point Cloud
Depending on your data size, this could take a while, but eventually the add-on will do its job and create vertices for all the XYZ coordinates.
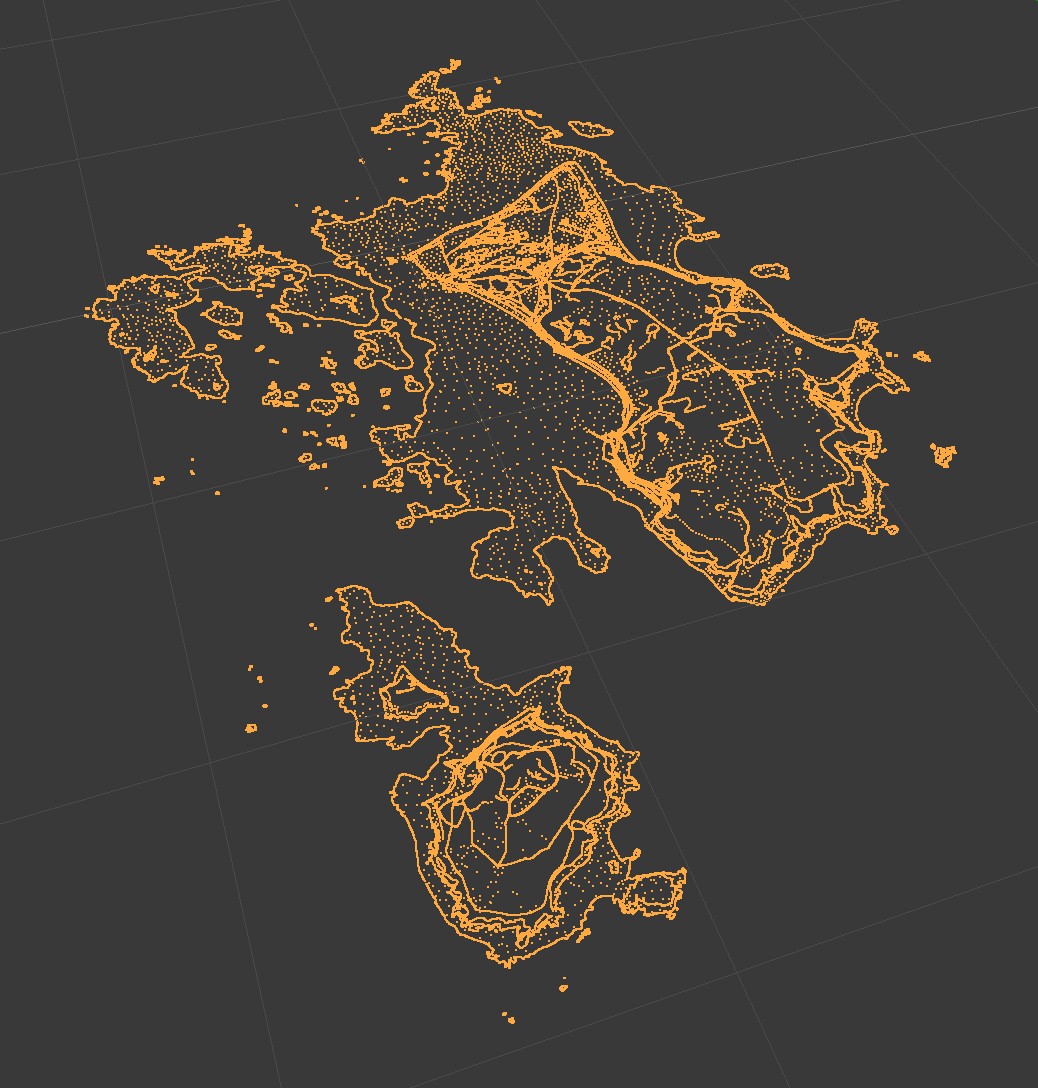
What you have here is known as a point cloud. There are loads of tools and algorithms to triangulate point clouds into meshes, but BlenderGIS comes with one called ‘Delaunay,’ which worked perfectly for me. It’s in the tools area (press T) under the ‘GIS’ tab.
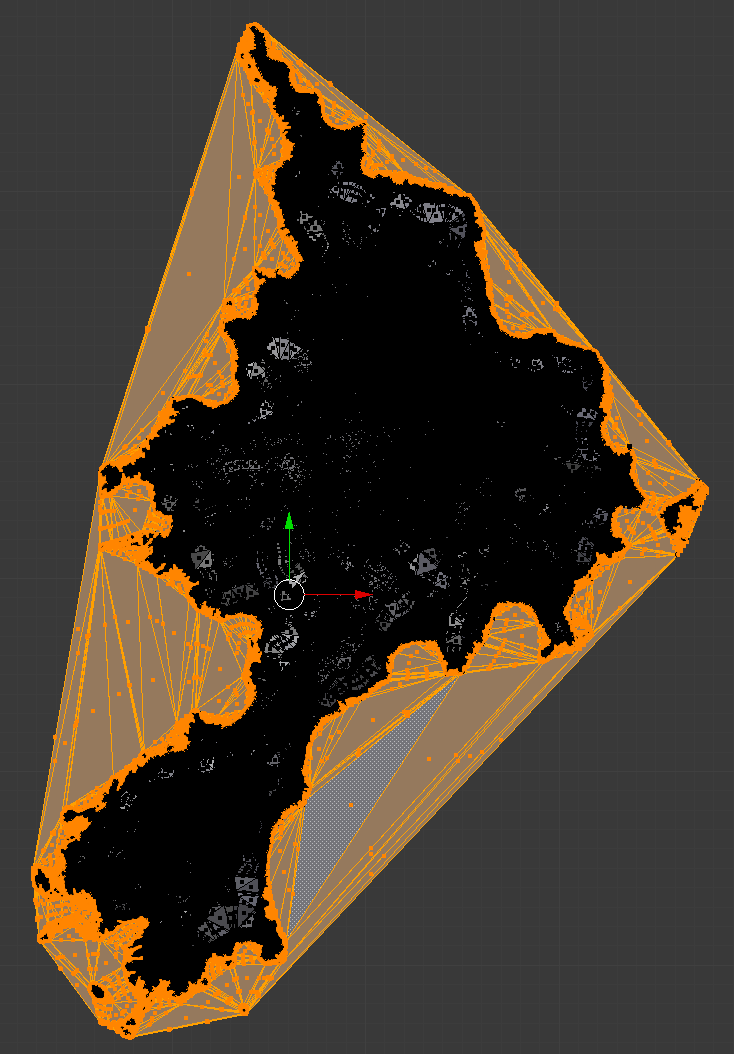
Mesh
Again—this could take a while depending on your data size, but eventually you’ll be presented with a mesh containing edges and faces. Due to my data set containing rock formations around the islands, it has created some planes joining the rocks to the island and other rocks. Select one of the planes and press Ctrl-Shift-Alt-F to select all linked flat faces as in the screenshot below. Use X to delete these faces.
There we have it. One mesh.

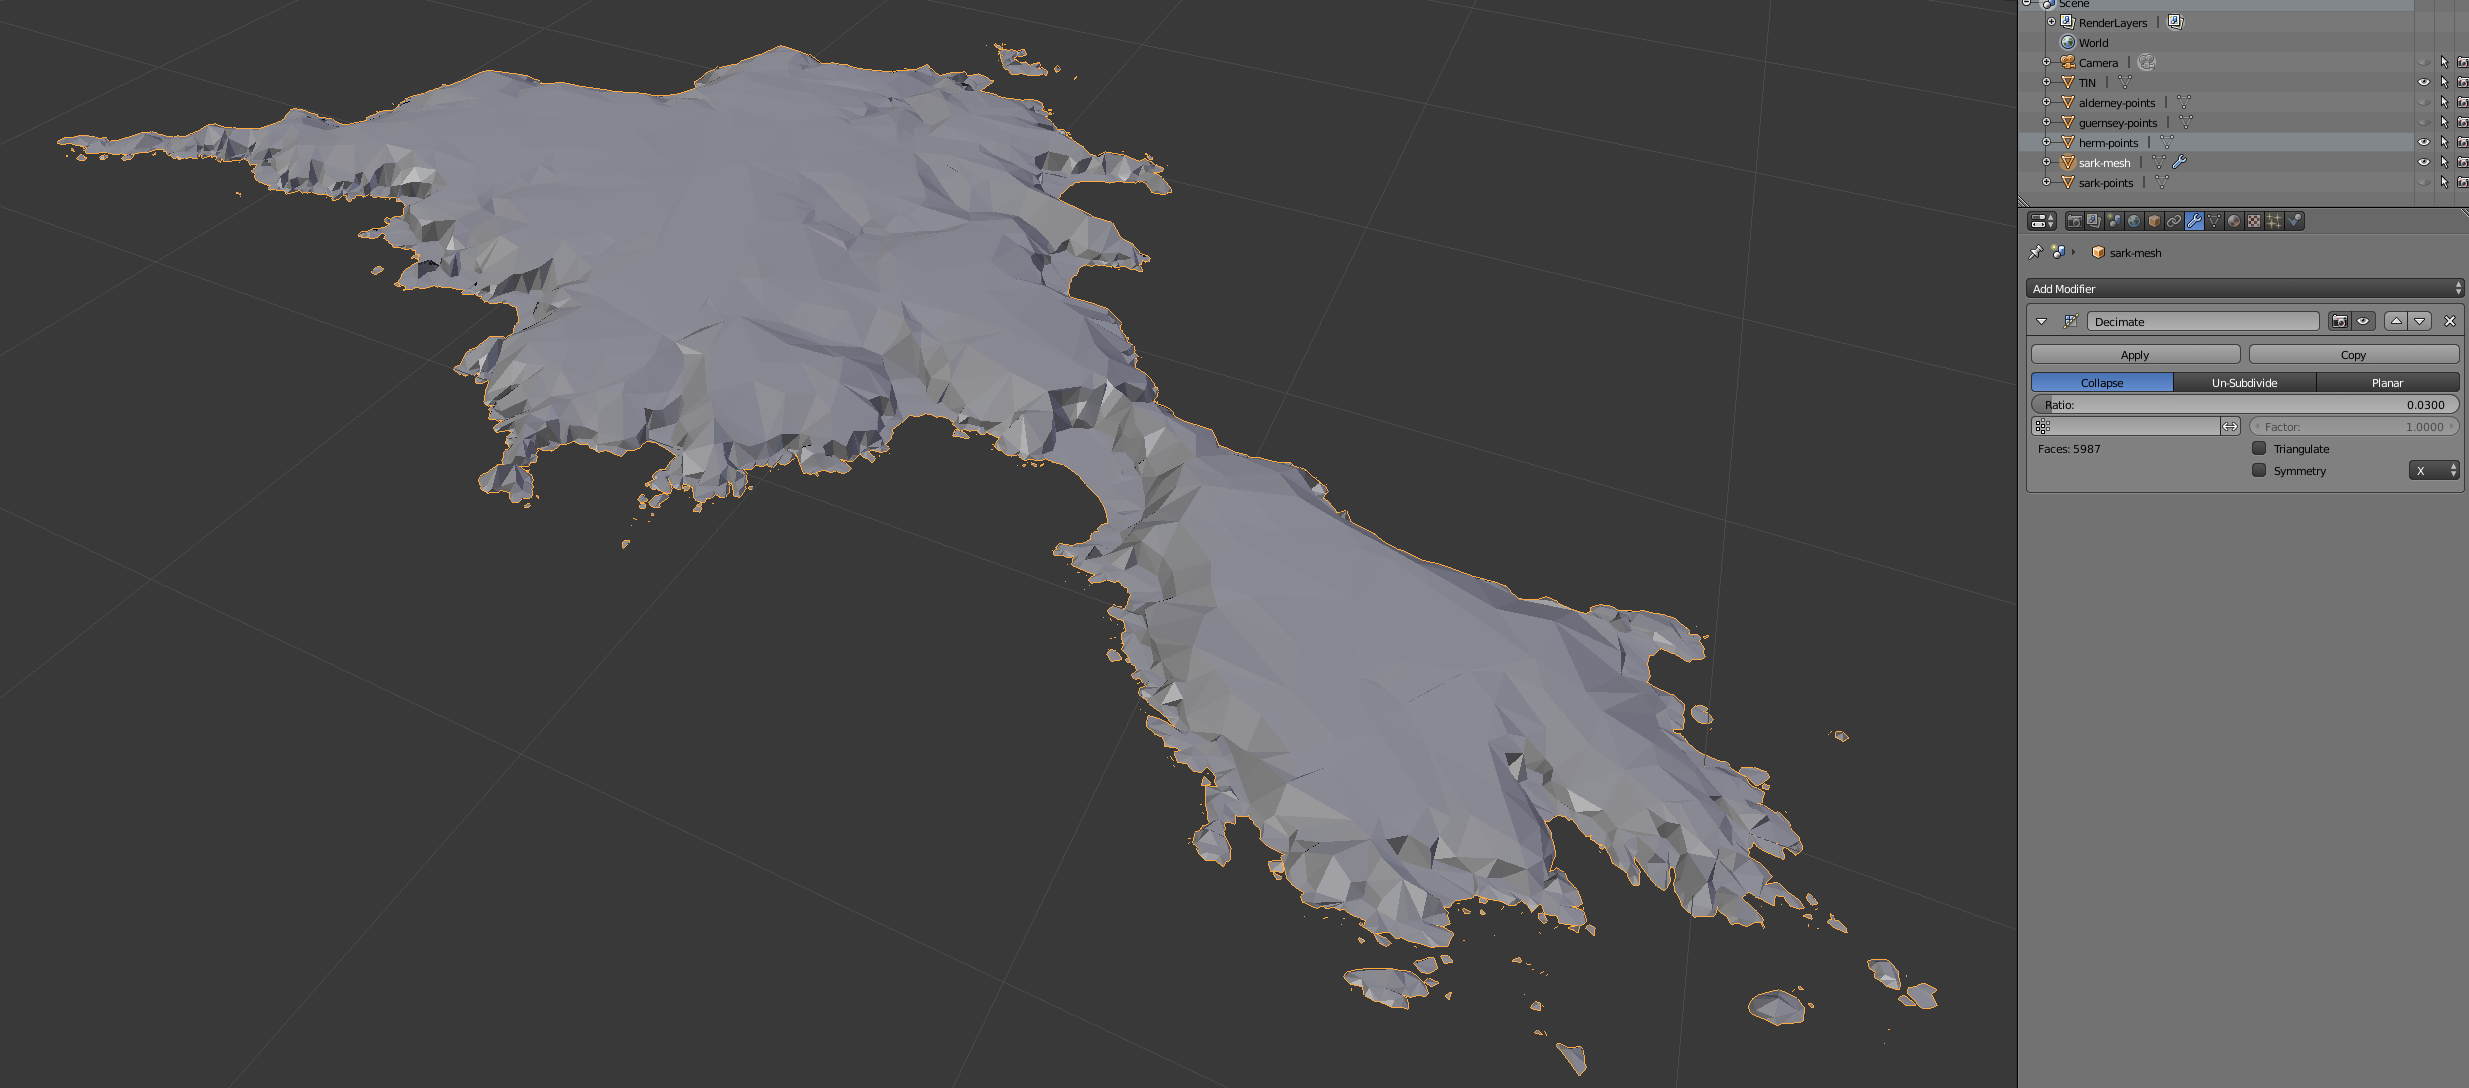
I have a large data set, so my mesh has 433,775 faces, which is too many to be usable. There are a couple of ways to simplify a mesh, but I found using the ‘Decimate’ modifier with a collapse ratio of 0.03 produced good results. Below I’ve reduced the mesh to 5,987 faces.